What is Hydro Dipping Paint?
If you’ve ever wondered how to apply hydro dipping paint, you may have already read this article. If not, you should. The process involves four different steps: Activator, Primer, Base coat, and Re-dip. Learn more about the process and its benefits below. Hydro dipping paint can also be used on plastic, wood, and metal. To apply hydro dipping paint, you must apply a base coat of paint. It should be transparent and not be glossy.
Activator
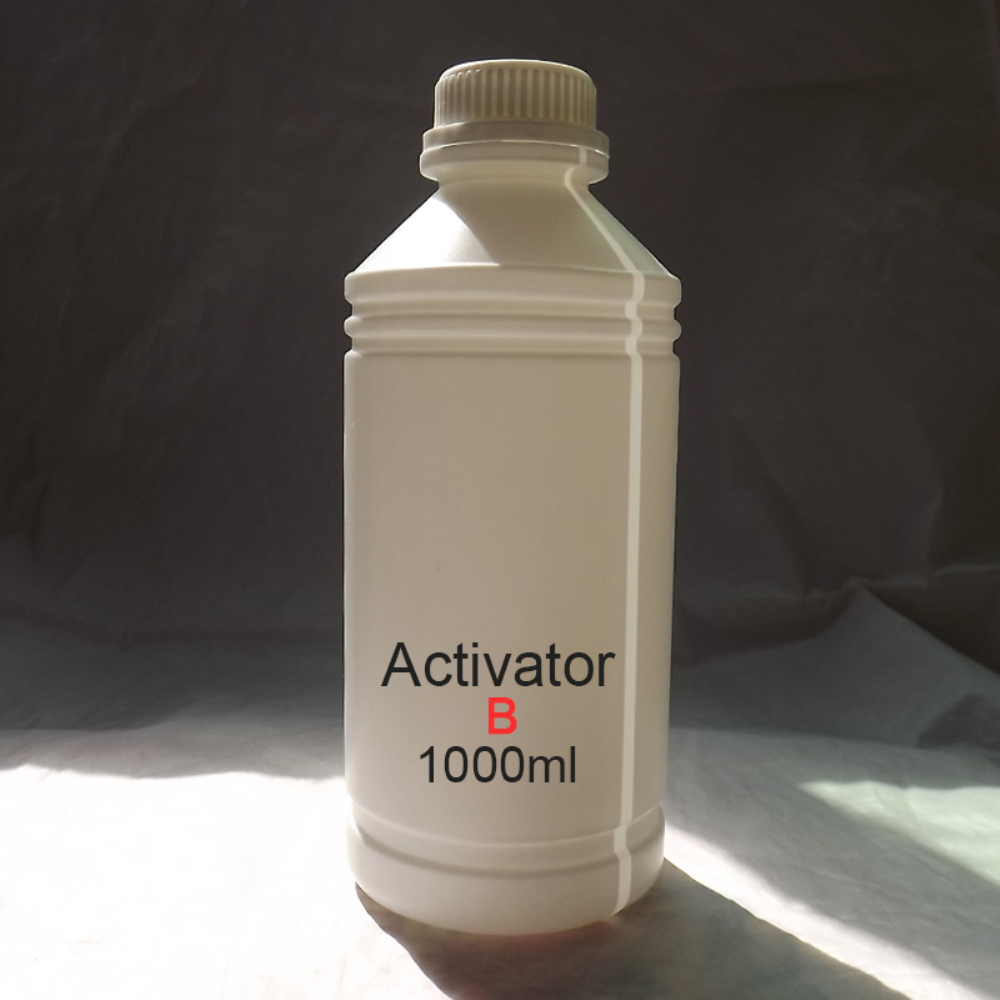
Activator in hydro dipping paint is a chemical that is used to liquefy the film before the coating is applied. The activator liquefies the film by liquefying the ink underneath. Most common mistakes in hydro dipping are over-activating and under-activating. In addition to the chemical, the activator used in hydro dipping paint should be applied in a light mist fan pattern.
The activator used in hydrographics must be applied correctly for the paint to adhere to the substrate. It must be sprayed from side to side at a distance of 12-18 inches. The speed of spraying will determine how much activator will be applied to the substrate. To begin, prepare your materials. A bucket of mild cleaning solution is a must, as well as vinyl gloves. Latex gloves are optional.
Primer
When hydro dipping, you need a primer first before you can paint on the final coat. While there are several different kinds, a typical primer will be white or tan. The color of the base coat will affect the final look of the dip. It is very important to choose the right color to get the right look. Here are some tips to choose a color that matches your desired result. Read on to learn more about hydro dipping primers.
Make sure that the surface you are coating is free from air bubbles. You do not want to end up with a water-blotchy hydro dipping job. To get a perfect finish, you should use a high-gloss paint instead of a matte one. However, matte paint does not work well when hydro dipping. It dries too quickly and leaves air bubbles. If you’re working with a 3D-printed product, you may want to use a transfer film to apply the paint. Otherwise, you’ll need to sand the surface.
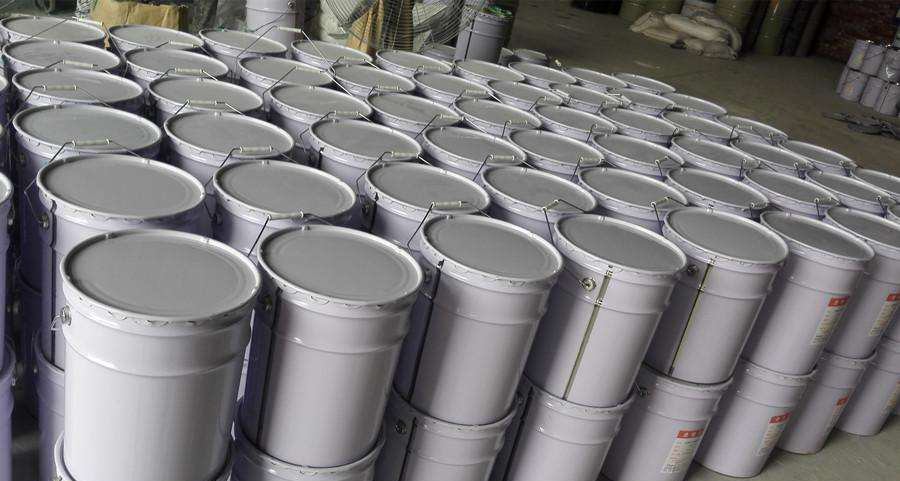
Base coat
To achieve the best results, you should carefully choose the time and speed at which you dip your items. Dip your item too quickly and you risk having dried paint in the bucket. Dip too slowly and it could result in clumpy paint. Try to maintain the goldilocks approach, where you dip your item just fast enough and slowly enough to keep it from sticking together. You can also use a tack cloth to remove any debris from the item before applying the paint.
Select a white color for the base coat. This will blend with the ink for a uniform look. When mixing colors, consider the color wheel. If you are applying blue flames to a red base coat, they won’t appear. You’ll need a white color to blend the two. For a variation in color, consider a light blue or a dark red color, for example. But don’t limit yourself to a single color.
Re-dip
Re-dipping your hydro dipped products may be your next step after the original application. It is important to note that some types of hydro dips require a longer recoat window than others. To avoid this problem, it is best to prepare the part thoroughly before applying the hydrodip. Also, be sure to dry the item thoroughly. If not, the recoat window may be too small for your needs.
When hydro-dipping, make sure to clean the object thoroughly and dry it thoroughly. This prevents paint adhesion problems. If there are any dirt or debris on the object, use isopropyl alcohol to clean it. Some graphics do not need a base coat before hydro-dipping. While this step might seem unnecessary, you need to keep in mind that it will result in a slightly less-than-stellar finish.
Protective finish
When you use hydro dipping paint, the finished product has a protective finish that is as attractive as it is durable. There are several advantages of this process. The paint has a high gloss that makes things stand out and is easy to clean. It is an effective and fast method to decorate many objects. To get started, you’ll need to prepare the object for the paint. Sandblasting or sandpaper can prepare the surface for the paint, and you can also tape the parts.
Before you begin the process, be sure to prepare the parts well to ensure a permanent adhesion. If you’re dipping an item with plastic, you should paint it with a primer first. This will help the paint adhere to the plastic, making the color pop. Be sure to keep your hands as small as possible, as large hands may interfere with the paint pattern. You should also wear gloves while hydro-dipping because it’s quite messy.